Drone photography - 5 tips on how to take even better photos
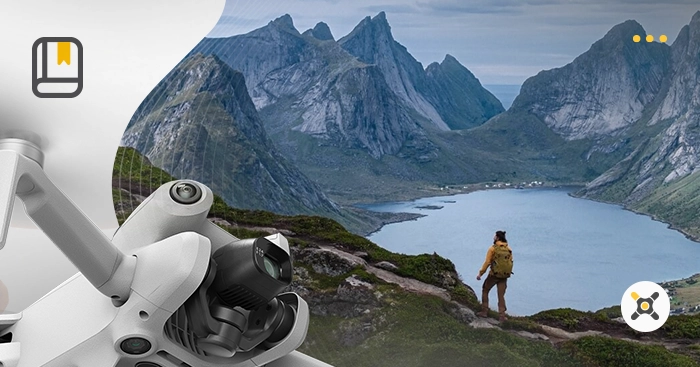
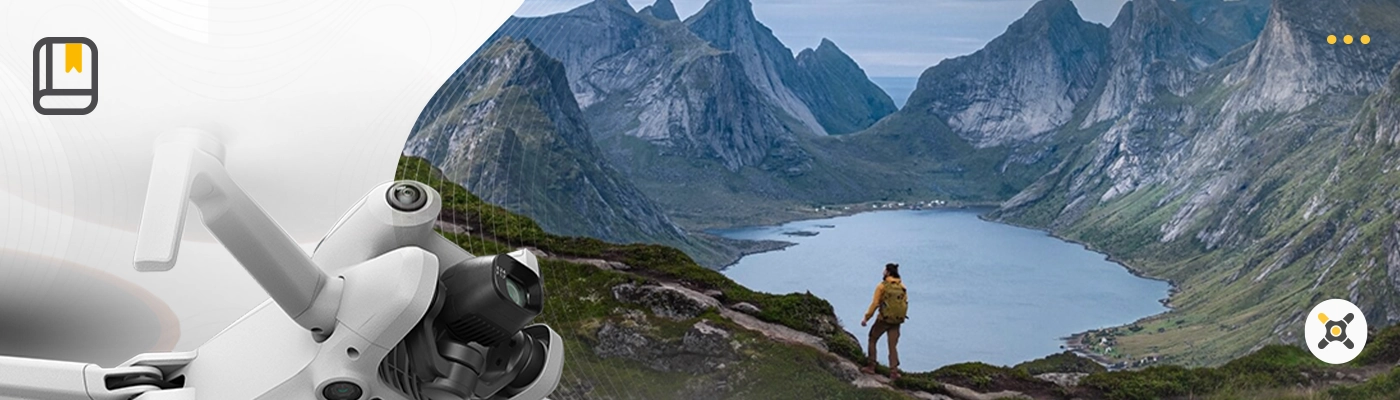
You already have a drone and take pictures with it, but you feel they could look even better? You want to capture unique shots of your travels, sports challenges or family moments, but they don't always come out the way you imagined? Relax - it's normal. Even the best equipment won't do everything for you.
As a passionate photographer and modern technology enthusiast, you probably like to have everything under control - and we'll help you get more out of your drone's camera potential. In this article you will find specific tips and techniques, that will allow you to take even better pictures. Without unnecessary theory, instead with practical tips that you will immediately put into practice the next time you make a drone flight. In addition, we will give you models that can improve the quality of your photos, and finally we have a surprise that can take your drone photos to a new level.
Table of Contents:
- What it means to take a good photo from a drone?
- Pro tip 1: Choose and think about the subject of the photo
- Pro tip 2: Lighting is key
- Pro tip 3: Save as much as possible on your drone photo
- Pro tip 4: Take photos in RAW
- Pro Tip 5: Take advantage of the tri-partite principle
- Drone photography vs. drone regulations
- Drone photography vs. privacy laws
- Drone for photography - which model to choose?
- Drone photography - can you make money from it?
- What to process drone photos in? | Additional advice - we recommend programs
- Summary
What it means to take a good photo from a drone?
A good shot is not just a matter of aesthetics - it's the purpose that counts. If you publish your photographs, you want them to attract attention and make an impression. A good drone photo should have:
- A clear theme - The recipient should immediately know what to focus on.
- Correct exposure - Without it, even the best frame won't make a "wow" effect.
- Aesthetics - composition, colors and light must attract attention.
Final perception will always be subjective - and that's out of your control. But if you want your photographs to be popular or sell, they have to fit into certain standards. Photography, like any art, is governed by rules and has certain canons.
Pro tip 1: Choose and think about the subject of the photo
"Just decide what you want to photograph" - sounds trite? Maybe. But imagine having a day off, finally time to fly a drone. You take the equipment, leave the house and... what's next? You photograph the city? If so, which part? Old town? And if so, from what angle? What building should be in the center of the frame?
Sometimes photos are created by accident - someone just happened to capture the perfect moment. He was lucky. You can't plan for that (although we wish you had such moments too!). But one thing you can influence - the preparation.
If you want to take great pictures from a drone, think about the subject and the effect you want to achieve. Consider:
- What exactly do you want to photograph?
- Which side of the drone's camera should capture the subject to look the best?
- What camera angles to try?
- Where the sun will be? Do you want the sky in the frame, for example?
A good photo is not only about the equipment, but most importantly about the plan. And this one always pays off.
Pro tip 2: Lighting is key
Light is the most important element of drone photography. After all, photography is nothing more than photons reflected from objects and recorded by the drone's camera sensor. And because the light is constantly changing, you can photograph the same place twice and get completely different results.
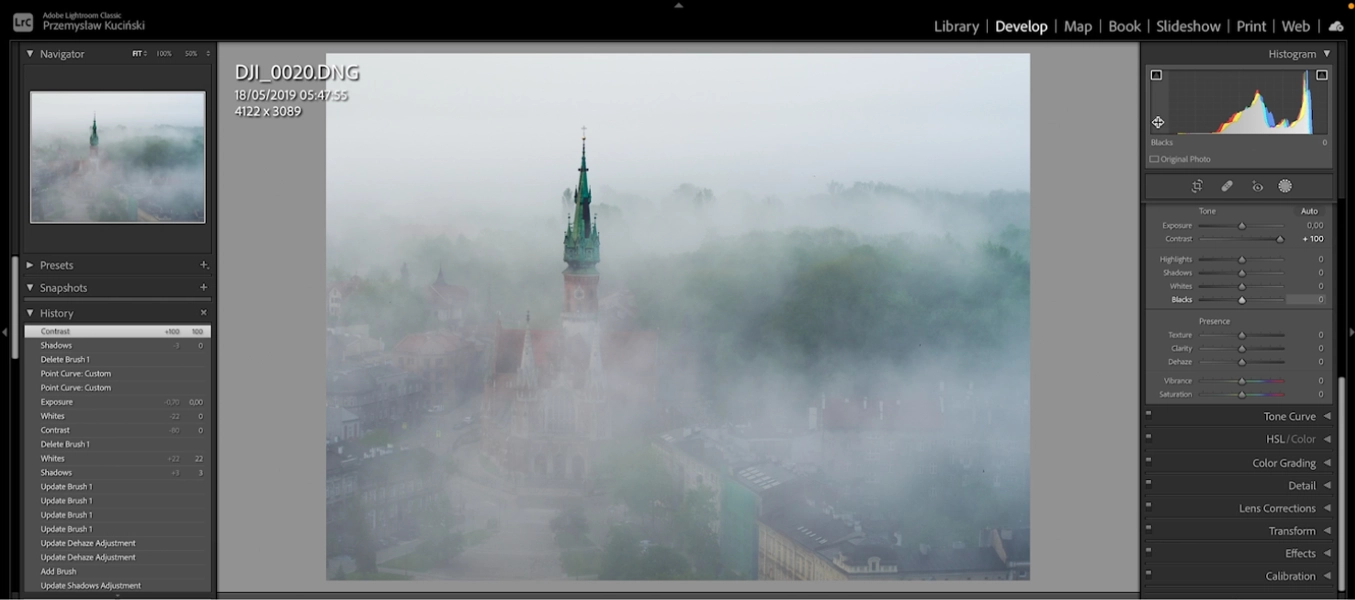
Time of day makes a huge difference. The same church on a cloudy day may look ordinary, but at sunrise, shrouded in mist, it will turn into a fairy-tale sight.
However, keep in mind the purpose of the photo (see Pro Tip 1). The "fairy tale" effect is not always what you need. If you're shooting for a city information brochure, a natural, well-lit shot may be a better choice. The key is to match the light to what you want to convey.
Pro tip 3: Save as much as possible on your drone photo
What a drone photo actually records? Photography is a medium of information, and every pixel of your digital photo is zeros and ones. The more details a photo contains, the more valuable it is as material. However, not every place in the picture is full information - sometimes we have to deal with missing data.
Completely black areas in the picture indicate a lack of information - this usually happens in night shots or when the camera settings are wrong. White spots, on the other hand, are burn-throughs, or excess information that has been "burned out" by the matrix, so that the photo lacks detail in those areas. This happens when the drone's camera is set against the sun or again - when the settings are incorrect.
Do not allow such situations. In the drone, a feature that helps control these problems is the "zebra," a striped grid that marks overexposed areas. In the DJI Fly app, you can turn it on, and your goal is to keep the zebra from appearing on camera. The more detailed and well-exposed the photo, the better the effect.

"Zebra" in the application DJI.. Course Screen: Drone photography.
Pro tip 4: Take photos in RAW
Another setting that will make your photo more informative is saving it with a so-called flat RAW color profile. If you want to get the most out of your equipment, RAW is the format that gives you the most options.
Megadron expert: "In drone photography, RAW is an image storage format that stores raw, unprocessed data from the camera sensor. It's something like a digital negative - it contains much more information than the standard JPEG format. RAW allows you to capture more detail in shadows and lights, which is crucial for drone shots where lighting differences can be quite large."
These types of photos give you full control over the correction of exposure, white balance, contrast and other parameters, with much less loss of quality compared to JPEGs. In the drone's gallery or when you plug a memory card into your computer, a RAW photo will look gray and flat - this is known as a "flat profile." However, with a few simple adjustments in your editing software, the effect can be spectacular, with the photo gaining depth and detail you won't find in the JPEG version.
RAW photo in Lightroom. Course Screen: Photogaph from a drone.
Pro Tip 5: Take advantage of the tri-partite principle
The principle of tri-division in photography, including drone photography, is a basic principle of visual composition that helps create attractive and balanced images. It involves dividing the frame into nine equal parts using two horizontal lines and two vertical lines.
The main elements of the composition should be placed along these lines - If you want to show an interesting object or place, place the horizon line on the top line of the triple division. In addition to this, the elements that you want them to draw attention place at the intersections of these lines. These are the so-called strong points that our eyesight naturally focuses on. See example below. If you place the object in a strong point the composition will become more dynamic. This avoids the fact that the object is always in the focal point, which is a rather obtuse procedure.
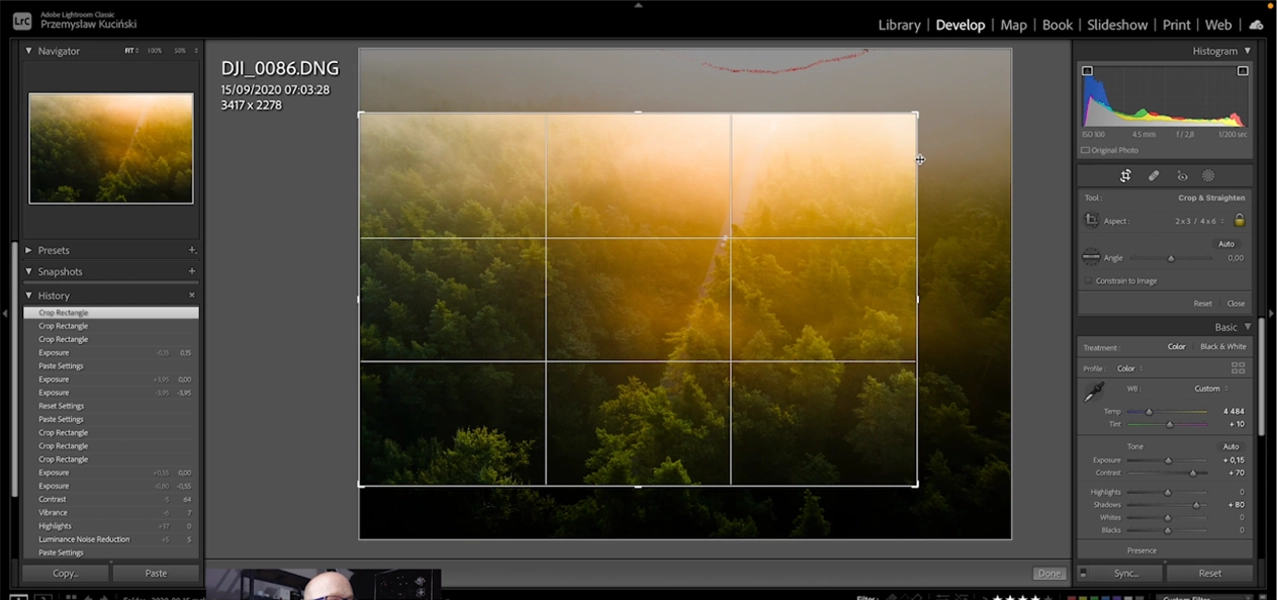
Tri-partition principle. Course Screen: Photogaph from a drone.
If you want to see the trihedral grid while flying the drone and taking a picture - you can enable it in the app settings. You will be able to see the tri-partition grid where the drone's camera is showing you the preview and it will make it easier to apply the principle.
Drone photography vs. drone regulations
Many novice drone photographers make the mistake of flying too high, unaware of current regulations. We write more about this in the article "3 beginner mistakes in drone photography". Remember that the maximum allowed flight altitude is 120 meters.
For drones weighing more than 250 grams, proper training is required, and anyone flying a drone must be registered. In addition, before each flight, you must do a check-in in the system and make sure you fly in the permitted zones.
Remember, whether you fly a drone recreationally or commercially (for profit), the regulations are now unified and apply to anyone operating a drone - it's the weight that counts. Stay up to date with regulations to enjoy your photos without worrying about legal problems. You can read more about it in the article "Drone regulations 2025 - everything you need to know".
Drone photos vs. privacy laws
Is it permissible to photograph someone's eye or home to spy on that person? This question in itself raises controversy and opposition. When photographing from a drone, it is important to comply with privacy regulations, and this topic raises many questions. Most often, customers ask us, whether you can fly a drone over private property. In general, flying a drone over private property is not prohibited, but situations that could be perceived as an invasion of privacy, such as voyeurism or recording without permission, should be avoided. In practice, it would be impossible to get approvals for every house you fly a drone over.
You can also use the drone's camera in public places unless the person in the picture specifically objects to it. Data protection laws should also be taken into account - if a drone photo contains visible faces that are easily identifiable, it could be considered an invasion of privacy. Use your drone with caution.
Drone for photography - which model to choose?
When choosing a drone for photography, the most important parameters to pay attention to are:
- Matrix size and number of effective pixels - it's crucial to the quality of the photos. Larger sensor provides better image quality, especially in lower light conditions.
- Flight time - Ideally, it should be between 20 and 30 minutes, allowing you to take multiple shots in one session.
- Advanced features - for example Waypoint, that is, the option to set a fixed point in the air to which the drone will automatically arrive each time. This is a useful feature if you want to take a picture ideally from the same place in different seasons, for example
Recommended drones DJI, which have the best camera quality. However, if you are looking for an alternative, we also have other models that can fully meet your needs and requirements:
DJI Mini 4 Pro it's a model that weighs less than 250 grams, so you don't need to do any training on it or have liability insurance. Of all the drones in the mini series, this model has the best camera. It is equipped with a 1/1.3-inch sensor, a fixed f/1.7 aperture and 48 MP photos. This model is great for interent shots because the entire camera with the gimbal rotates vertically, so you can get a full resolution 9x16 photo.
DJI Air 3S is a drone equipped with two cameras: a main camera with a 24mm lens and a 50MP 1-inch sensor (aperture: f/1.8), and a 70mm telephoto lens with a 48MP 1/1.3-inch sensor (aperture: f/1.8). This combination makes it possible to achieve unique shots in which the background is more visible. The drone features an impressive flight time of up to 45 minutes and advanced features such as Waypoints. This is one of the latest models DJI, ideal for professional aerial photography.

Photos taken with the drone's two cameras DJI Air 3S.
DJI Mavic 3 Pro is the most advanced choice for drone photography. It has as many as three cameras, including one by Hasselblad. Here are the details:
- Hasselblad camera: 24 mm, 4/3 CMOS sensor, 20 MP, variable aperture f/2.8 - f/11
- Medium Tele camera: 70 mm, 1/1.3-inch CMOS sensor, 48 MP, fixed aperture f/2.8
- Tele camera: 166 mm, 1/2-inch CMOS sensor, 12 MP, f/ aperture3.4
Flight time is up to 43 minutes. The drone offers Waypoints function, allowing you to plan precise routes. It's a solid choice for advanced photography.
If you are looking for an alternative to DJI, we recommend drone Autel Evo Lite+. This is a model that allows you to adjust the aperture in the range of f/2.8-f/11. It has a large 1-inch sensor and takes photos with a resolution of 20 MP. The flight time is 40 minutes and the price is very competitive.
Drone photography - can you make money from it?
There are several ways to monetize drone photos, and not all of them require them to be incredibly beautiful. In the past, a good drone photographer could earn extra money by selling images to image banks (stock). However, with the growing popularity of drones and AI-generated images, it seems unprofitable to invest in this method. Nevertheless, there are segments of drone photography that we believe have earning potential:
- Wedding photography - one of the most common ideas for using a drone. In this case, you need to have an excellent eye for composition, experience flying and taking photos from a drone, and processing skills. Orders are regular, so this is a good way to earn money.
- Photography for businesses - in this segment, you don't need to have such a keen photographic eye or know the rules of taking highly aesthetic frames. Companies often need aerial photos to document investment processes, such as construction. Drones are a fast and cheap solution, so you can try your hand at it.
What to process drone photos in? | Additional advice - we recommend programs
Congratulations on reaching this part of the article! You know that usually only 50% of readers get here? But thoroughness pays off - we have additional tips to help you take your photography to the next level. The programs we recommend for processing drone images are Adobe Lightroom and Photoshop (for the more advanced). They are paid with a monthly subscription, but mastering them pays off in the future. There is also a free version of Lightroom Mobile for phones and tablets, which, although it doesn't have all the features of the PC version, is, in our opinion, the best tool for processing photos from a drone.
If you want to explore the topic of drone photography and image processing, check out the course: Drone Photography. It's a video packed with knowledge along with practical and tips to learn how to take drone photos that impress.
Interested not only in photography, but also in aerial video recording - see also our article Filming with a drone - 8 useful tips. There you will find specific tips to help you create smooth, dynamic and effective shots.
Summary
Act and don't give up! Sometimes you have to drive around to take really good pictures from a drone. Pay attention to composition, light and perspective, experiment with settings and flight angles. Practice and put drone photos online to get feedback - this will help you develop your style and see what looks best. Tag the photo with the hashtag #megadron or tag us in the post so we can share it. And if you're looking for inspiration every month in our newsletter award the 3 best photos of the month.
Want to get up to speed on learning drone photography? Take advantage of the course, to master techniques faster and take even better pictures.