Drone photography - the 3 most common beginner mistakes
First drone flight, first aerial shots - excitement reaches a fever pitch. But then comes the disappointment: crooked horizons, blurry shots, strange overexposures. Sounds familiar? If you want your photos to look like those from professional sessions, you need to know how to avoid the most common mistakes.
As a technology and photography enthusiast, you have great equipment - now it's time to learn how to get the most out of it. At Megadron, we know these problems inside out and how to solve them. Here are three traps that beginners fall into, and specific ways to avoid them.
Mistake 1: Don't think from a bird's-eye perspective
A good photo is a planned photo. Many novice drone makers plan (if they plan them...) their shots the way they've done it before - with a phone or a human-level camera. Our first tip: change the way you think. Instead of looking at frames the way you do every day - from a human perspective - start thinking like a bird. Expand your existing train of thought. Think of the drone as a tripod that you could never put in a given place before.
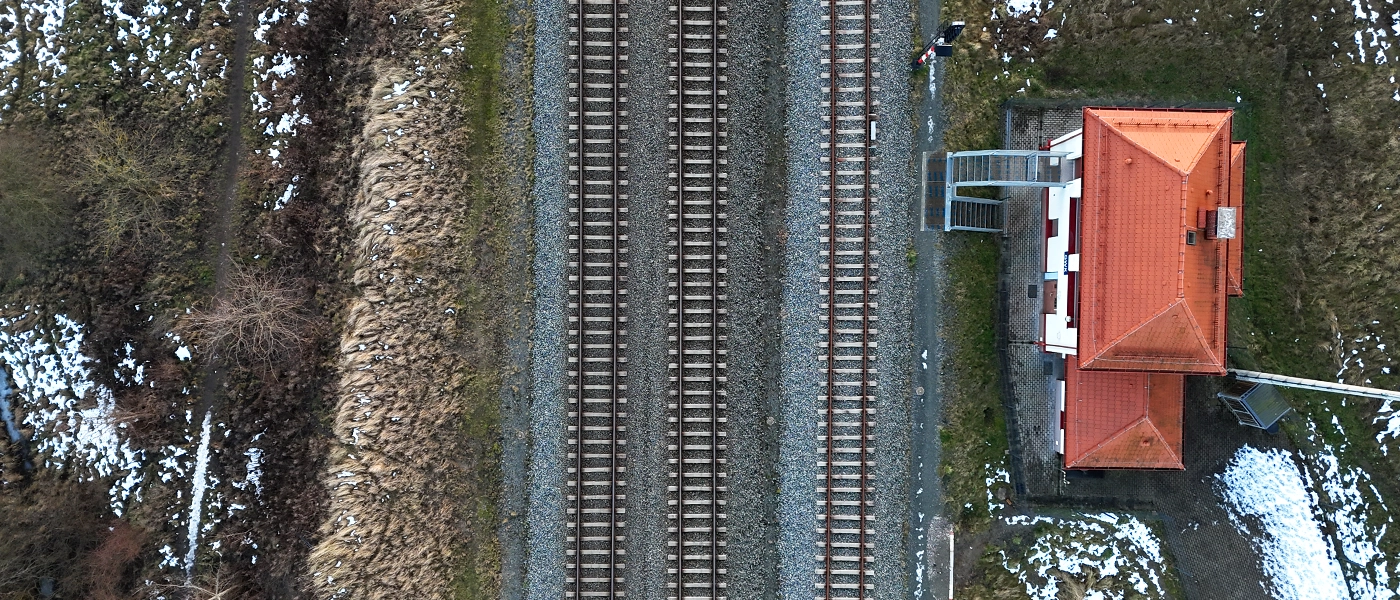
On the Internet you will find many city photos taken with a drone, which in reality could also be obtained from a good camera, shooting from a tall building. To get the most out of your drone, try looking at the world in a different way - point the camera down and take a picture. A good practice is to take an additional photograph vertically and then capture the same frame from above. Sometimes, completely by accident, you may come across a unique shot. This type of photo is called "top-down".
A megadrone expert explains: "Top Down drone photography is a type of photographic shot that is taken from above, perpendicular to the surface of the earth. This type of photography is popular in both wedding and landscape photography. A drone placed centrally over a subject or group of people allows for unique and interesting frames that stand out from traditional photos."
If you want to get more out of your drone and master the art of capturing aerial videos, take a look at our article "Filming with a drone - 8 useful tips". There you will find specific tips to help you get smooth, dynamic and professional shots.
Mistake 2: You're flying too high
Most beginners, even if they have previous experience with photography, instinctively take pictures from a high altitude. This often leads to non-compliant shots. We understand the excitement - you have in your hands a camera that can fly! You can take a picture as if from an airplane, which used to require hiring a helicopter and a considerable cost.
However, there is a fundamental difference. Professional aerial photos were taken with cameras with large sensors and telephoto lenses, allowing for framing and preservation of detail. Drones have smaller sensors and shorter focal lengths - if you just get as high as possible, everything in the picture can turn into blurry blobs that are not very clear.
Instead, fly with your head. Find a subject for your frame and don't exceed the 120m allowed height. Often a photo taken from this lower altitude e.g . 60m looks better and complies with regulations.
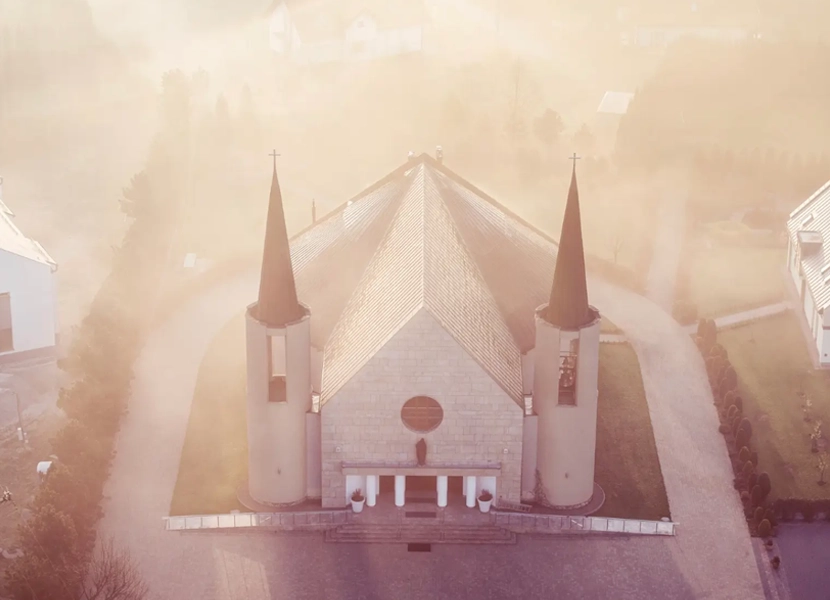
Mistake 3: The sun is in the frame
Think of it this way: a studio photographer doesn't put his lights in the frame. When you fly a drone, the sun acts as your lighting - and just like in a studio, you should avoid putting it directly in the frame.
Don't misunderstand - the sun is crucial to good photography, but its direct reflection in the drone's small camera sensor usually results in burnouts instead of an artistic effect. On traditional cameras with large lenses, the sun in the frame can add character, but with drones it usually spoils the quality of the photo. That's why it's a good idea to compose frames so that the sun stays out of the shot.
Of course, sometimes it's worth breaking this rule. Photos under the sun can look great - especially when using ND filters or in HDR mode. If you want to learn more about drone photography techniques, check out our course: Drone photography - from planning to post-production.
Summary
The most common mistakes of novice drone makers are:
- Lack of thinking from a bird's eye perspective - it's worth experimenting with Top Down shots.
- Flying too high - it is better to find an interesting subject and composition than to photograph "everything and nothing". amiast maximum height, try to go lower and find a more interesting frame. Take advantage of your surroundings, shadow and composition - it will make a bigger difference than the extra meters up.
- Shooting against the sun - Shoot at an angle so that the sun illuminates the scene but is not directly visible. Experiment with ND filters and HDR mode that can help in more challenging lighting conditions.
Want to take better pictures with a drone? Check out the course "Drone photography", where you will find practical tips that you will immediately translate into better shots.
In addition, take a look at our article "Drone photography - 5 tips on how to take even better photos", where you will find specific techniques and proven methods to improve the quality of your shots.