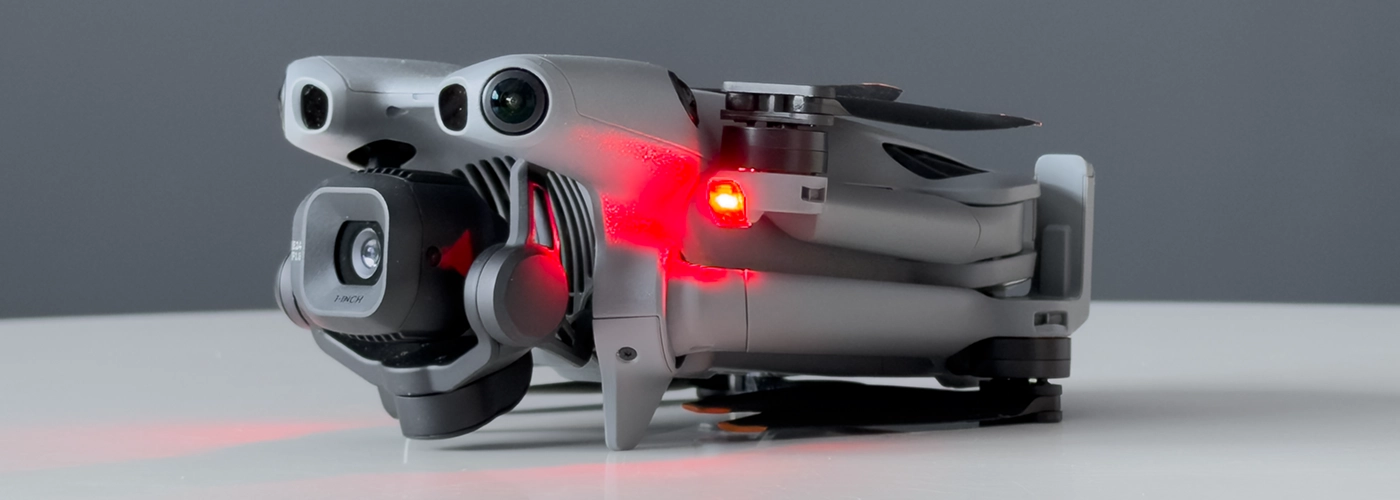
IMU calibration of the drone - how to do it?

Although some users view calibration as a “tedious chore,” it’s worth keeping in mind that regular calibration has a real impact on the safety and predictability of operations, as well as the quality of the recorded material. Calibrating drone systems is crucial for flight stability and precision. Skipping this step may cause problems with the drone's movement, image quality, or device operation. Drones may have difficulty maintaining stability, performing maneuvers, or returning to their takeoff point, if the systems aren’t calibrated regularly—it’s worth familiarizing yourself with the most important information on this topic.
Calibration – Basics and Preparation

Before beginning the entire procedure, it's a good idea to make sure you're properly prepared. To perform calibration, place the drone on a perfectly flat surface and in a stable environment. In addition, disconnect any additional accessories that could affect the measurements. It's also a good idea to check the following before your flight propellers, motors and the presence of dirt on the gimbal. Regular cleaning and maintenance of the gimbal are recommended to prevent operational issues, such as image instability. IMU calibration is crucial for drone stability and should be performed after unpacking the drone or after a long period of non-use.
Regular Calibration—When and Why?
It's worth noting that Regular calibration is more than just a best practice – This is an essential requirement for maintaining the device's proper functioning. Sensor calibration should be performed after every software update. It's also a good idea to calibrate the drone when you change locations, when error messages appear, and also after being knocked or after a long trip. Calibrate the compass when you're in a new location or when the drone is drifting.
Software updates are a common reason for the need for calibration—they can introduce changes to the firmware that affect the operation of a drone's navigation systems. Changes in temperature or the presence of large metal objects nearby may also make recalibration necessary.
Inertial Measurement Unit (IMU)—What It Is and Why It Matters?
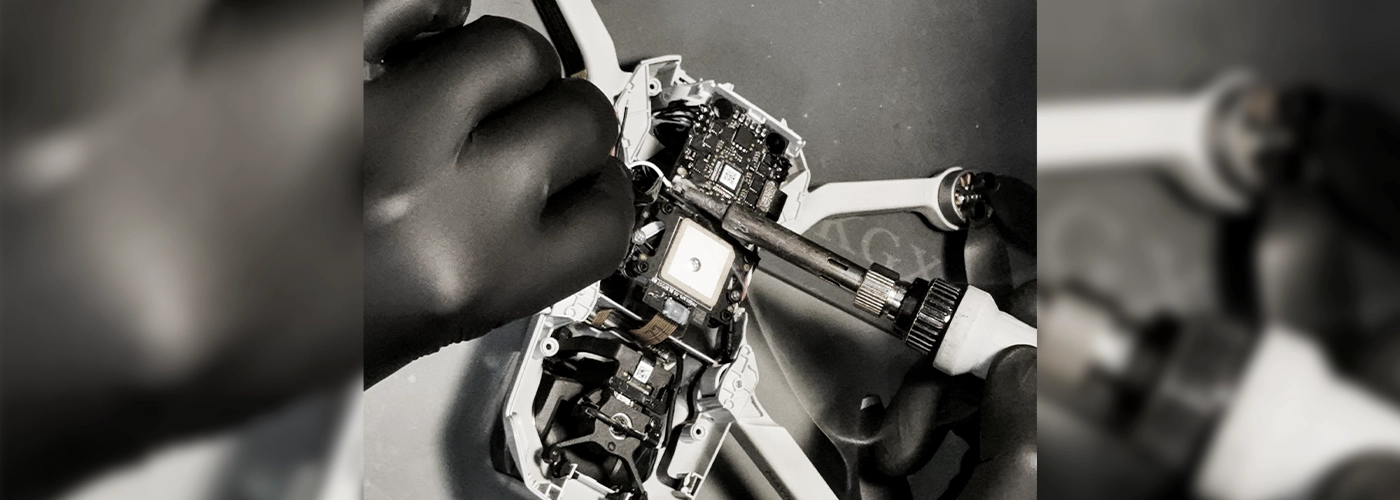
When discussing calibration, you’ll often come across the abbreviation “IMU”. What does that mean?? Its full wording is "Inertial Measurement Unit", which can be translated as “inertial measurement unit”. This is a term for a set of accelerometers and gyroscopes that measure the device's acceleration and rotation. The Internal Measurement Unit is therefore the heart of the stabilization system. IMU calibration is crucial for the drone's stability because the gimbal relies on data from the IMU, and incorrect calibration can lead to image issues.
How can you tell if an IMU is malfunctioning or if it was calibrated incorrectly?? There are several factors that point to problems in this area. The most common ones are:
- drift during flight,
- unstable hover
- difficulties in returning to the starting point.
Drones equipped with vision systems may have trouble maintaining the correct altitude if those sensors are not properly calibrated.
Drone IMU Calibration – A Step-by-Step Guide
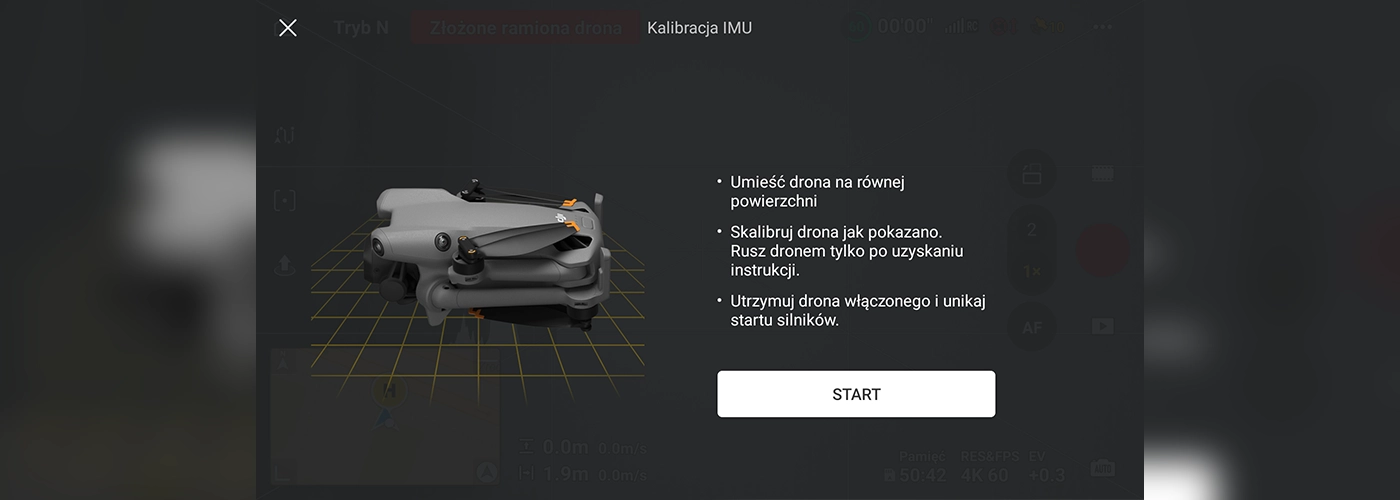
IMU calibration includes rotating the drone on a flat surface without moving it during the process. The entire process is fairly simple, but it does require a certain amount of patience:
Place the drone on a flat, level surface. Avoid metal objects and other sources of interference nearby.
On your smartphone screen (if you're controlling the drone via the app) or on the controller screen (for drones equipped with a remote control that has a screen), select the option IMU calibration. Sometimes you may also come across the full form of the abbreviation or see this function referred to simply as “calibration.”.
Follow the instructions that may vary depending on the drone model. It is usually necessary to rotate the drone along several axes and keep it stationary for the duration of the measurement.
When you're finished, leave the drone where it is. Before performing the first test flight, wait a few minutes for the sensors to stabilize.
It's also worth remembering that a drone's malfunction doesn't always have to be due to a lack of proper calibration. Mechanical damage or even temperature fluctuations may also be the cause. Significant temperature fluctuations may require recalibration. If you still notice vibrations or unusual behavior during flight even after calibration, you should check condition of the propellers and engines – as a last resort, there is also the option of purchasing a new drone.
Calibrating the Gimbal and Cameras: A Simple Way to Make Your Drone Work Better
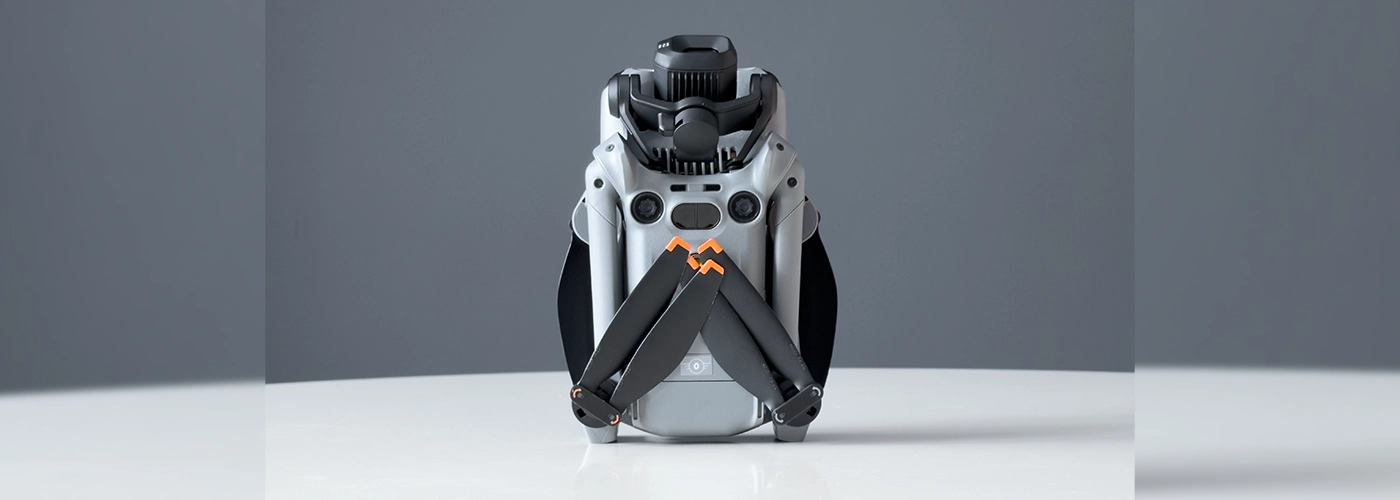
It's worth noting that IMU calibration isn't the only type of calibration available in drones. Devices from companies such as DJI also offer the option to calibrate the gimbal and cameras. Symptoms that indicate the gimbal needs to be calibrated include a crooked horizon and image flickering – Sometimes, these issues are actually caused by improper IMU calibration. However, if the gimbal itself is the problem, calibrating it requires placing the drone on a flat surface and running an automatic or manual calibration. To do this:
Remove the gimbal cover and check for tape or other objects blocking the gimbal;
In the app, select "Gimbal Calibration" and let the system run through the calibration cycle.
If the automatic procedure does not resolve the issue, you can try configuring it manually or contact customer service. It is also worth noting that the calibration of vision sensors should be conducted in a well-lit room rich in detail, so that computer vision algorithms would have a better chance of detecting landmarks.
MegaDron – Choose Professional Equipment